
Intro: Setting the Scene
Ever been to a party or wedding and thought, “wow, now that’s a stunning table”? Setting the table might seem like a practical and mundane step before dinner, but it goes far beyond plates and napkins - it’s what transforms an ordinary meal into something special.
It can feel intimidating, but it doesn’t have to be. With a simple, flexible formula, you can create a table that feels elevated and personal, whether it’s for Thursday night dinner or a full Thanksgiving spread.
Here’s how to set and style a complete table: choose your vibe, build your base, add the functional pieces, and layer in the details that make it yours. Now, on to the menu!

Step 1: Decide on your Theme or Mood
Before you pull out the dishes, think about how you want your table to look and feel. Is it casual and easy for everyday meals? A dinner party with a theme or color palette? A breezy al fresco situation? A cozy, seasonal gathering?
Your mood sets the direction for what follows (we’re talking everything from color choices, to texture, to lighting, etc.). Keep that vision in mind as you choose each layer so that the final look feels cohesive, intentional, and just what you wanted.

Pro tip: If you’re unsure where to start, look at what you’re serving. Brunch and finger foods lend themselves to lighter colors and airy textures, while a hearty fall meal calls for deeper tones and layered textiles. You can even play around with the ingredients in the tablescape itself, so let the food set the mood!
Step 2: Start with the Base (Table Linens)
Your table linens are the foundation of your setup. They can instantly define the tone and feel (so consider your vision when choosing!). Think of this layer as your canvas. It doesn’t have to steal the show, but should complement everything that comes next.
Table runners naturally draw the eye to the center and frame your accents, while tablecloths are great for covering unfinished or plastic surfaces.
- For a light and airy or versatile and everyday look, go for a solid neutral or white table runner that lets your table shine.
- To create something cozy and layered, choose a thicker, textured tablecloth that feels warm and grounded.
- For something bright and cheerful, bring in color or pattern (perfect for spring or summer gatherings).
 |
 |
 |
 |
Neutrals in linen or cotton are timeless for daily use, but changing seasons and holidays are the perfect time to consider what materials and colors are fitting and to update your look. For a timely example, heavier textures and earthy tones like rust, olive, or chocolate instantly make a table feel right for fall. For specific product inspiration and pairings, check out our seasonal and holiday lookbooks!
Pro tip: If your table has great texture or wood grain and fits the vibe, skip the full cloth and use a runner instead. Let the surface show through, it adds natural warmth and visual depth. Then again, if you’re going for a different feel, a full cloth is a great place to start!
Step 3: Layer on Function + Form (Placemats & Napkins)
Now the fun starts - layering in pieces that blend practicality and style, while keeping your mood and base table linens in mind.
Placemats define each setting and add color or texture. They’re optional, but instantly make a table feel finished. For everyday meals, keep them subtle and neutral, and for holidays, lean into woven textures or bold patterns that pop against your linens.
 |
 |
 |
 |
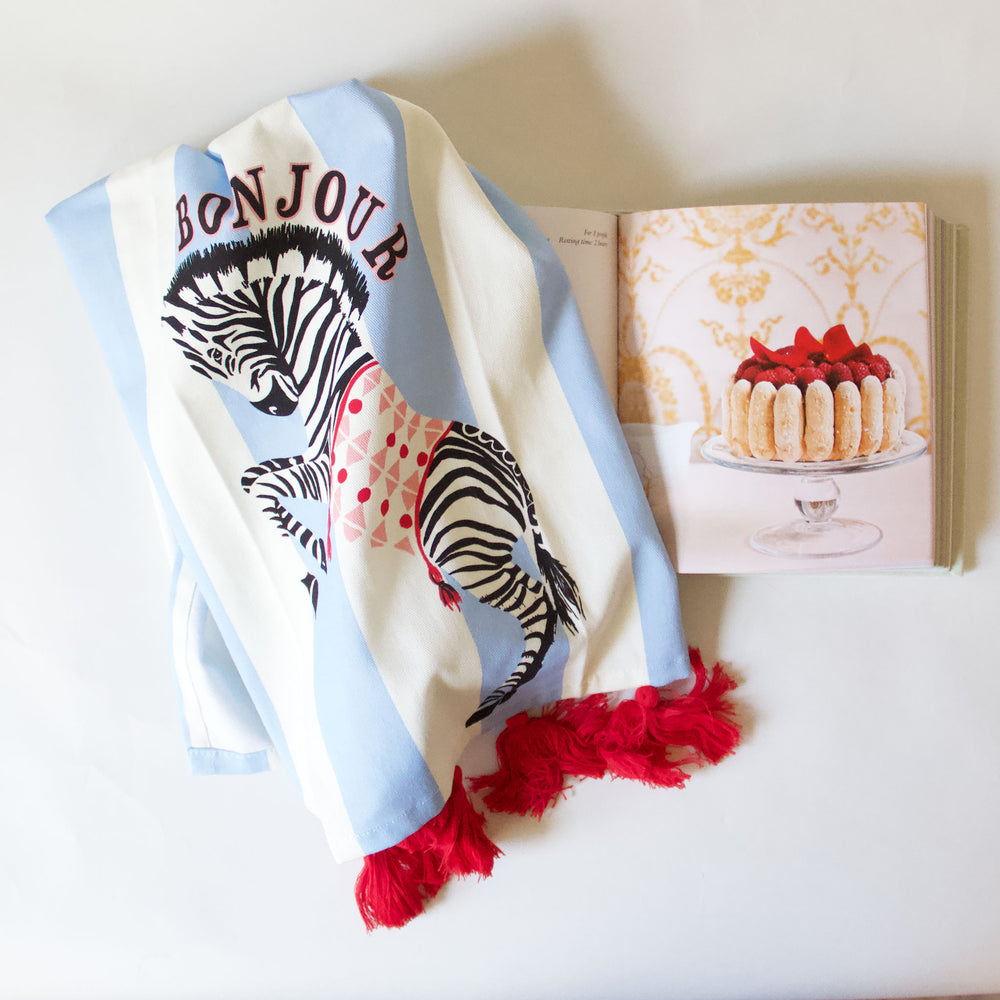
Napkins are your wildcard. They’re easy to swap seasonally, mix and match, or use to tie your whole look together. For a casual setting, simply fold and place them beside the plate. For a more elevated look, use a napkin ring or ribbon tie.
 |
 |
 |
 |
For a unique little touch, tuck a sprig of rosemary, a cinnamon stick, a single flower, or a handwritten name tag in with your napkin.
For one-stop-shop solutions, shop our setting bundles!
 |
|
|


Pro tip: To make your table look styled, aim for contrast. If your lines are smooth, choose a textured napkin. If your runner is patterned, keep napkins simple. Small differences in texture give the layout variety.
Step 4: Build the Core (Dishes, Flatware, & Glassware)
Next up - the essentials. These are the functional pieces that can still make a big impact when styled thoughtfully and intentionally.
Layering your dishes gives a table dimension. Start with a charger (optional but elegant for formal dinners), then stack your dinner and salad plates. Add a bowl on top if it fits the meal. Don’t feel like you need every layer for every meal, as that can definitely be overkill. A dinner + salad plate is a happy medium (or just do what suits your menu!).
Keep the placement classic: fork(s) on the left, knife and spoon on the right, glass(es) above the knife. Or, group utensils neatly on the napkin above or on top of each setting.
 |
 |
| FORMAL SETTING | BASIC SETTING |
Pro tip: Don’t stress about matching every piece. Mixing materials (like matte ceramics with polished metals) makes your table look layered and realistic, rather than too stylized. Everyday white dishes feel new again when paired with colorful napkins, metallic flatware, or vintage glassware.
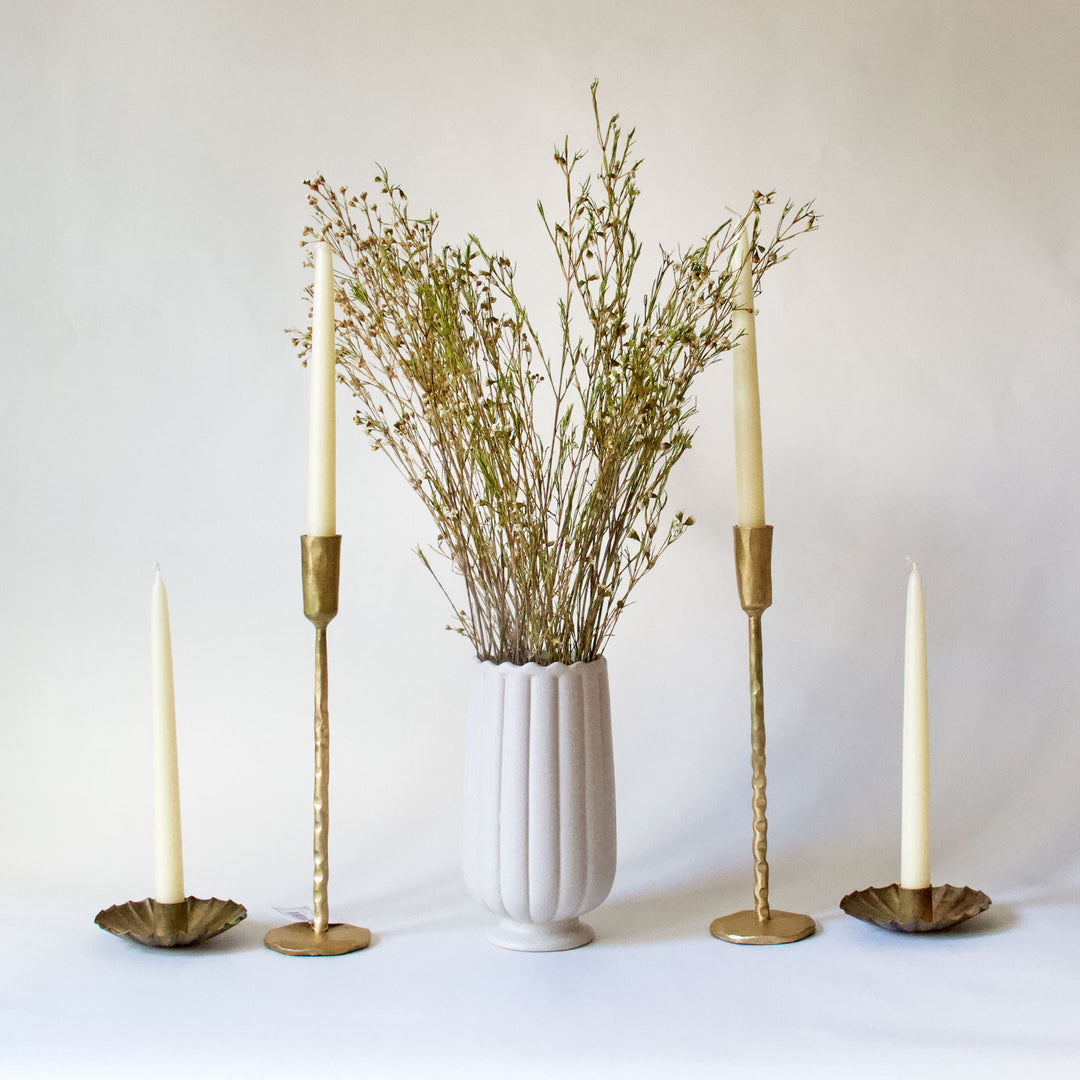
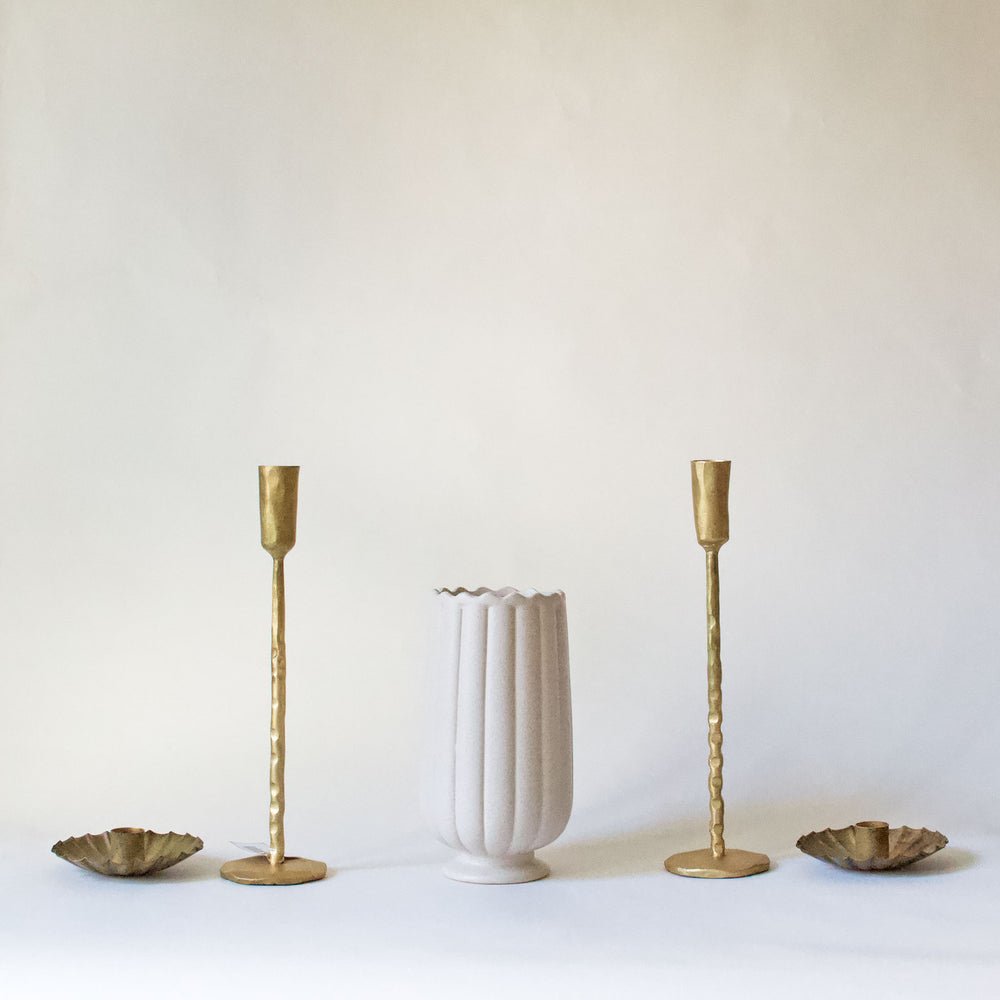
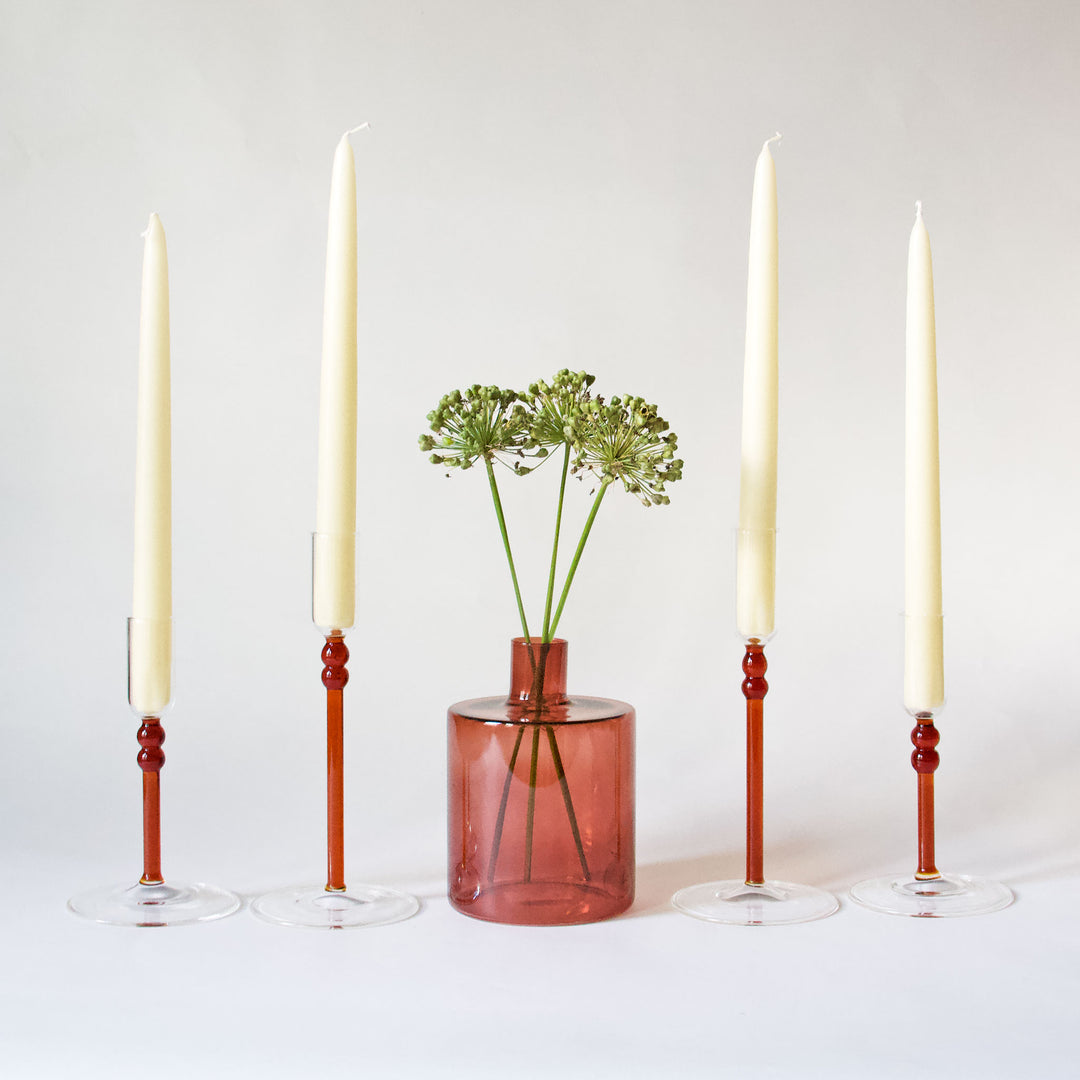
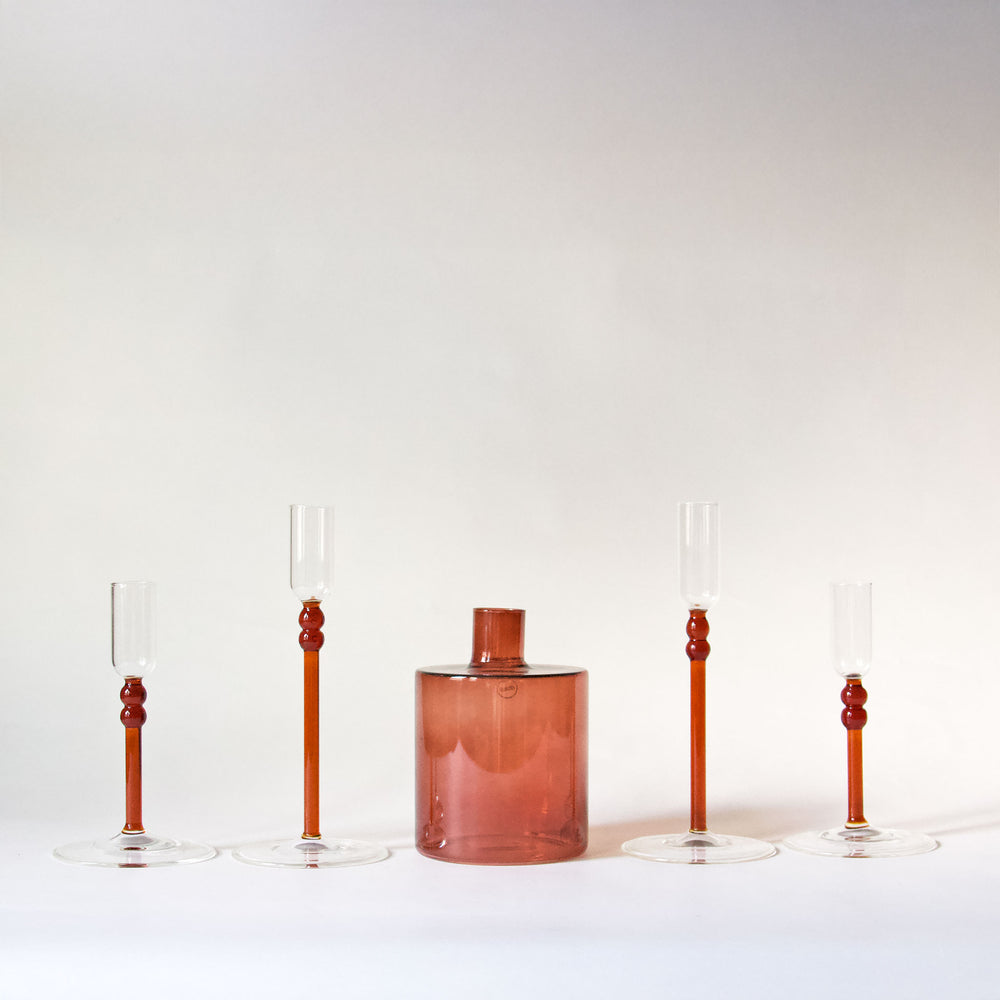
Step 5: Add Personality (Centerpieces & Accents)
Here’s where your table comes to life. The centerpiece and surrounding accents tie everything together and add visual interest.
If your style is minimalist, one statement vase or a pair of candleholders might be all you need. If you love a maximalist look, mix and match vases, bowls & trays, and candles in different heights and textures for a dimensional, collected feel.
- For an airy & spacious vibe, use clear glass vases with seasonal stems, scattered tea lights, and neutral tones.
- For a more cozy & earthy moment, place ceramic bowls filled with nuts or gourds, warm taper candles, and soft woven textures.
 |
|
 |
|


|
|
 |
|
|


|
|
|
 |
 |


- One vase in the center + one or two candleholders on either side is a foolproof strategy.
- Scattering several smaller bud vases and candleholders of different heights is another classic setup that balances the table rather than focusing one a centerpiece.
For one-stop-shop solutions, shop our dining table bundles!
|
|
|
|
 |


Finally, make it yours by adding something unique or unexpected. Bring in big floral arrangements or scant stems, add herbs or seasonal fruit (lemons and limes for summer, pomegranates or pears for fall), or get really creative with personal or theme details (recycled tomato cans or wine bottles, dried pasta, ornaments, pinecones, etc).
Pro tip: Keep your centerpieces low enough that guests can see across the table, or cluster taller items to the side instead of scattering them evenly. Focus on balance rather than symmetry, asymmetry makes the setup feel more natural and organic.
Conclusion: Your Table, Your Style
At the end of the day, setting the table like a pro isn’t about rules or perfection, it’s about creating an atmosphere that feels inviting and personal. Guests remember a table's beauty and originality.
Build each layer with intention. Start with a strong base, add in function and form, and finish with unique touches that make it special. Experiment with color, texture, and season. Have fun with it!
|
BASE |
FUNCTION |
CORE |
DETAILS |


Explore our table linens, placemats, napkins, candleholders, and vases to start building your own stunning table.
Table setting, made easy!


Leave a comment